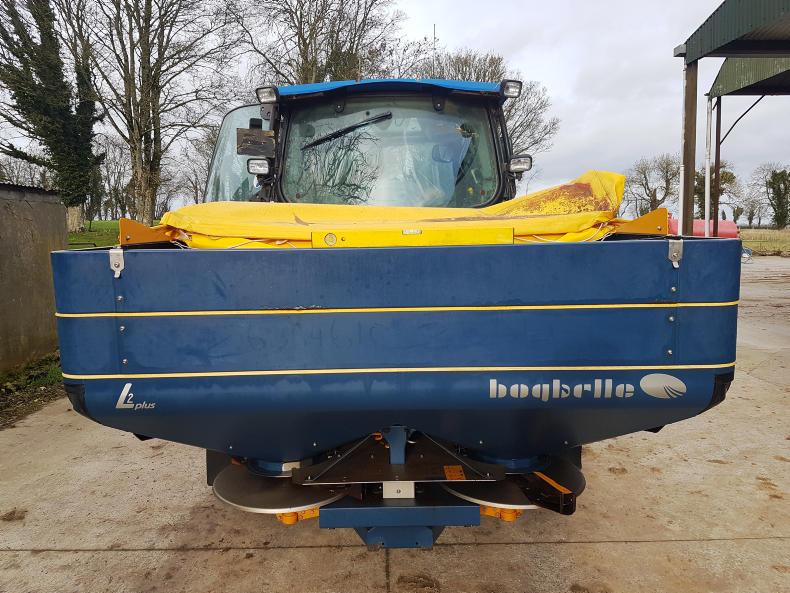
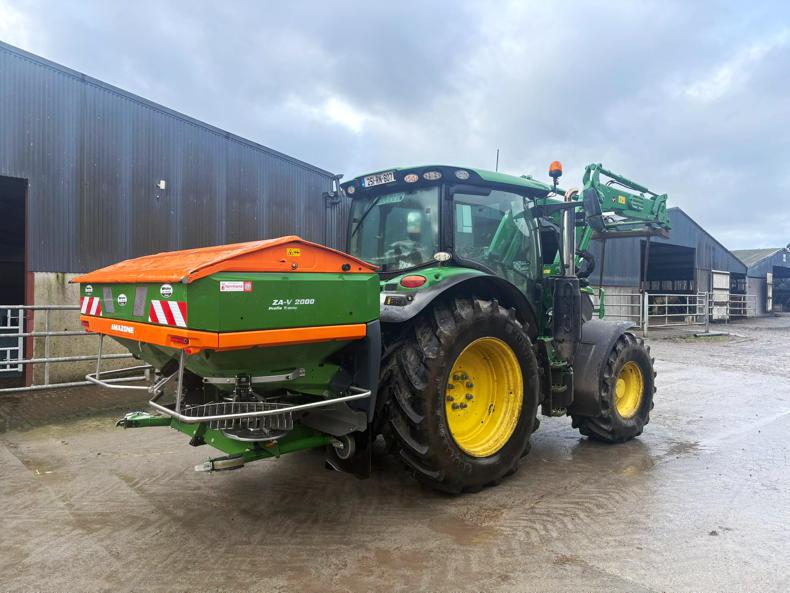
From the simple pendulum spreader right up to the most advanced GPS-guided section control machines, these 10 basic tips will help you to get the most from your mounted fertiliser spreader this season.
All of these set-up tips should be
undertaken on a level surface to ensure that all adjustments are correct.
1 Read the manual

If the manual for your spreader is available this should be your first point of reference for setting up your spreader.
If the manual is not available to you, most of the manufacturers now have online resources to get the information required to set up your machine.
2 Tyre pressure

Before the spreader is placed on the tractor, all the tyre pressures should be checked to make sure the tractor is level.
This is often a forgotten step which if left undone will greatly affect the machine’s set-up.
3 Tractor arm adjustment

Most modern tractors have separate adjustments for each arm. Making sure these are set to the same level will ensure that the spreader will be level. This should be checked with a spirit level.
4 Spreader angle
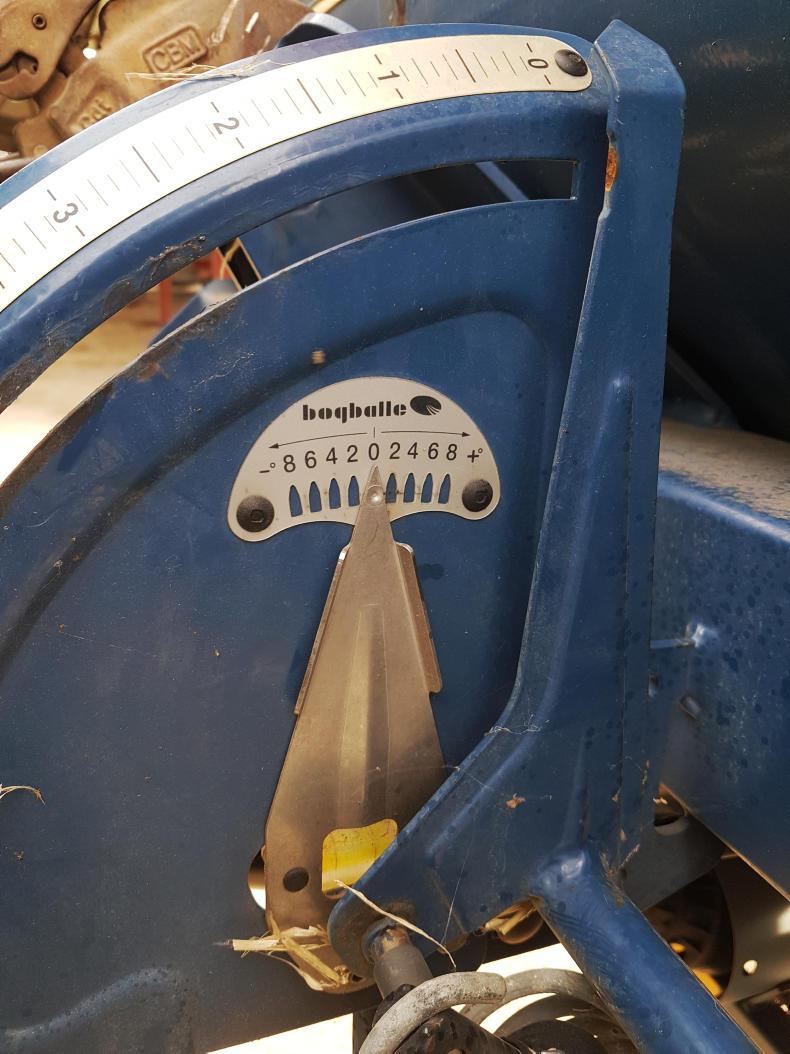
 Freeing of the top-link is advised before this step. In most cases the spreader should be set-up level from front to back. The adjustment is made using the top-link. In some cases, when stated in the manual, the spreader may need to be at a slight angle to get the correct spread width.
A simple angle measurement device is usually fitted to machines where this is required.
This setting may be altered when the machine is loaded and should be rechecked at that stage.
5 Centred arms (check chains)

Having the spreader directly behind the tractor is essential to getting the correct results from your machine. This is done by ensuring that the tractor’s check chains are adjusted correctly so that the machine is centred behind the tractor and also that all play from side to side is removed.
These adjustments can be made using the check chains/check bars.
6 Tractor speed test

7 Height above crop/ground

The next step in the process is setting the height above the crop that you are going to be spreading over.
This will be specified in the owner’s manual for the machine. This can be done on a level surface using a meter stick or a standard measuring tape.
This setting should be rechecked once fertiliser has been added into the hopper.
8 Correct bout width PTO speed/vane setting

For all spreaders, the PTO speed will affect the spread width – the owner’s manual will give you this information (usually 250-540 rpm).
Some of the disc spreaders will have adjustable vane positions which can be set on the disc in order to gain different spread widths, these positions can be found in the manual for machines that have this adjustment available.
9 Safety (PTO/weights etc)
 As with all PTO operated machines, it is vitally important to check all covers and guards are present and functioning correctly before operating the machine.
When the weight of the full spreader is added to the tractor it is important that the front wheels of the tractor are still fully in contact with the ground. If you are in any doubt, weights need to be added to ensure safe operation.
10 Hopper dampness

Finally, before adding the fertiliser to the hopper, it needs to be checked for any dampness which will prevent/slow the flow of the fertiliser granules. If there is moisture present it can be dried out using a rag or sponge and left to dry in fresh air.
A check of all the other hopper internals such as the agitators and grids should also be carried out.
Once all of these steps have been completed your machine should be ready for a safe and accurate spreading season.
Read more
Fertiliser spreading: the machine is critical
From the simple pendulum spreader right up to the most advanced GPS-guided section control machines, these 10 basic tips will help you to get the most from your mounted fertiliser spreader this season.
All of these set-up tips should be
undertaken on a level surface to ensure that all adjustments are correct.
1 Read the manual

If the manual for your spreader is available this should be your first point of reference for setting up your spreader.
If the manual is not available to you, most of the manufacturers now have online resources to get the information required to set up your machine.
2 Tyre pressure

Before the spreader is placed on the tractor, all the tyre pressures should be checked to make sure the tractor is level.
This is often a forgotten step which if left undone will greatly affect the machine’s set-up.
3 Tractor arm adjustment

Most modern tractors have separate adjustments for each arm. Making sure these are set to the same level will ensure that the spreader will be level. This should be checked with a spirit level.
4 Spreader angle
 Freeing of the top-link is advised before this step. In most cases the spreader should be set-up level from front to back. The adjustment is made using the top-link. In some cases, when stated in the manual, the spreader may need to be at a slight angle to get the correct spread width.
A simple angle measurement device is usually fitted to machines where this is required.
This setting may be altered when the machine is loaded and should be rechecked at that stage.
5 Centred arms (check chains)

Having the spreader directly behind the tractor is essential to getting the correct results from your machine. This is done by ensuring that the tractor’s check chains are adjusted correctly so that the machine is centred behind the tractor and also that all play from side to side is removed.
These adjustments can be made using the check chains/check bars.
6 Tractor speed test

7 Height above crop/ground

The next step in the process is setting the height above the crop that you are going to be spreading over.
This will be specified in the owner’s manual for the machine. This can be done on a level surface using a meter stick or a standard measuring tape.
This setting should be rechecked once fertiliser has been added into the hopper.
8 Correct bout width PTO speed/vane setting

For all spreaders, the PTO speed will affect the spread width – the owner’s manual will give you this information (usually 250-540 rpm).
Some of the disc spreaders will have adjustable vane positions which can be set on the disc in order to gain different spread widths, these positions can be found in the manual for machines that have this adjustment available.
9 Safety (PTO/weights etc)
 As with all PTO operated machines, it is vitally important to check all covers and guards are present and functioning correctly before operating the machine.
When the weight of the full spreader is added to the tractor it is important that the front wheels of the tractor are still fully in contact with the ground. If you are in any doubt, weights need to be added to ensure safe operation.
10 Hopper dampness

Finally, before adding the fertiliser to the hopper, it needs to be checked for any dampness which will prevent/slow the flow of the fertiliser granules. If there is moisture present it can be dried out using a rag or sponge and left to dry in fresh air.
A check of all the other hopper internals such as the agitators and grids should also be carried out.
Once all of these steps have been completed your machine should be ready for a safe and accurate spreading season.
Read more
Fertiliser spreading: the machine is critical


 Freeing of the top-link is advised before this step. In most cases the spreader should be set-up level from front to back. The adjustment is made using the top-link. In some cases, when stated in the manual, the spreader may need to be at a slight angle to get the correct spread width.


 As with all PTO operated machines, it is vitally important to check all covers and guards are present and functioning correctly before operating the machine.


SHARING OPTIONS