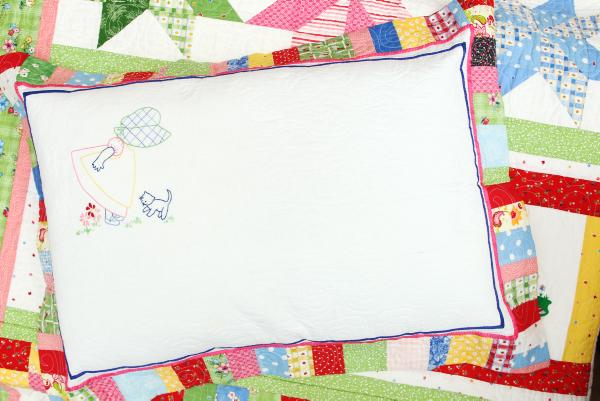
All that remains at this stage is to finish the pillow sham and attach the label. The pillow sham is finished with an envelope-style closure, also known as a back flap closure, where one section overlaps the other. This is the simplest of closures and cuts out unnecessary time of inserting a zip.
I have chosen a flanged-style pillow cover showing off the piano key border we completed last week. Because the pillow sham has been quilted the corners don’t sag or hang down, but sit up straight. Now is also the time to finish your quilt label if you haven’t done so already.
Note: Finished size of quilt 74” by 96”.
Completed quilted pillow front 24” by 33”
24” high by 44” wide fabric for the back
40” by 1” of fabric for ties
90” coordinating ribbon
Quilt label
1 Cut fabric into two back sections measuring 22” by 24”.
2 Cut remaining fabric for ties into four strips measuring 10” by 1”.
3 Take one back fabric piece, turn under, press and sew a double hem (1” plus 1”) along one short edge (figure 1). Repeat for the second back fabric piece.
4 To make ties, fold a fabric strip in half lengthways and press. Open out. Using creased marks as a guide, fold raw edges into centre. Press. Fold in half again lengthways, press. Sew down open side ?” in from the edge. Repeat for three more ties.
5 Attach two of the ties to front of one back piece 8” in from each side edge and 13” down from hemmed edge (figure 2).
6 Attach other two ties to front of second back piece 8” in from the side edges and ¼” down from hemmed edge. Pin ties to the centre away from seam edges for next step.
7 Lay the pillow sham top right side up. Lay back sections on top, right side down. The back sections should overlap each other so they measure the same as the pillow top (figure 3). Sew a ½” seam all around the outside edge.
8 Trim corners. Turn right side out and press.
9 Keeping ties out of the way, attach the second narrow ribbon, this time on the seam line between the pillow sham and the border, again using a large zig-zag stitch on your machine. This creates a pocket for your pillow and a lovely flanged edge.
10 Attach label to the bottom corner of your quilt 4” in from the side and bottom edge, using a slip stitch to secure. CL


 This is a subscriber-only article


SHARING OPTIONS: