The vast majority of slurry tankers here in Ireland are of the vacuum type and we are fortunate to have so much choice with a variety of our own domestic manufacturers to choose from.
The following is a practical guide to checking over your tanker but if in any doubt about any potential issue, consult your local mechanic or agricultural dealership. A liquid load, in particular a partially full tanker, can be quite unpredictable and unstable in certain circumstances.
These would include aggressive or emergency braking, for example, or the operating tractor or tanker wheel slipping into a rut. The momentum of such actions could cause the liquid in the tank to make the tanker or tractor and tanker unstable.
The vast majority of the following advice is applicable across all brands, with the only major differences being the add-ons or attachments such as auto-filling devices used by the different firms.
On initial inspection, have a look around the tanker for cracks, towing hook wear, damaged rubber piping or seals, which will all need to be put right before operating a slurry tanker. Also check hydraulic pipes for damage and the quick release couplings for damage (dragged along the road) and replace as necessary.
If the tank has been lying up for a while, put the pump on pressure and suck half a litre of diesel through the exhaust with the tanker spreading valve open (nothing in tank). This should clean and free up everything in the pump.
The operator’s manual, regardless of manufacturer, contains an awful lot of information about maintaining and operating your tanker. If this has long since disappeared, contact the manufacturer for a replacement. Some will have operator’s manuals available for download from their websites, while others will be able to provide a replacement either by email or post.
And finally, when filling a tanker, always make sure you are in a well-ventilated area.
From the pick-up eye to splash plate – a thorough check over should be done.
Picture one

At the load connection point between the tractor and tanker, even a small 1,300-gallon vacuum tanker can carry a fair load. 1,300 gallons of water is almost 6,000 litres, which equates to six tonnes (of water) sloshing about plus the weight of the tanker. So examine the ring eye for wear. A new eye is relatively cheap and easy to fit.
Picture two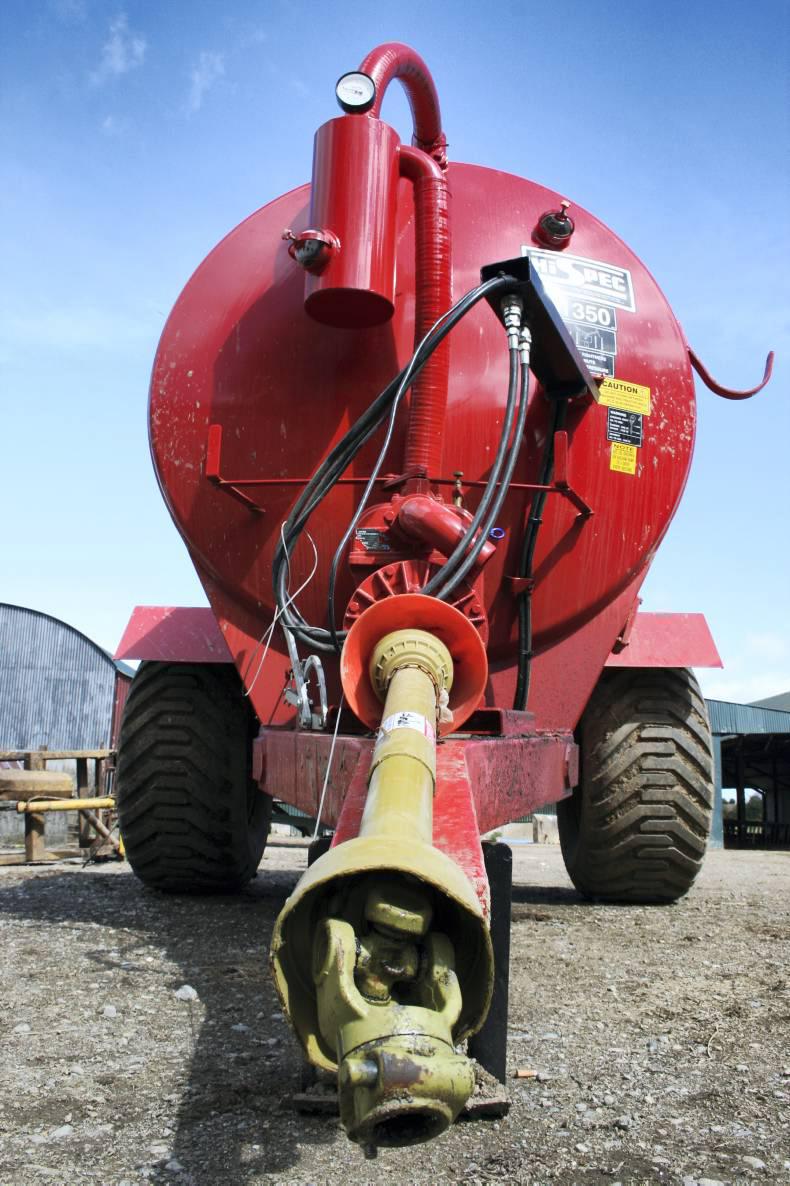
Powering the vacuum pump is of course a pto shaft and after “wintering it out” make sure the PTO shaft will slide and is not seized up. Check the universal joints are not seized and secondly that there is no wear in the joint itself. The PTO guard is critically important from a safety perspective as many standard machines require the pump to be operated manually in relatively close proximity to the PTO shaft.
Make sure the guard still has check-chains to anchor it at both ends.
Picture three
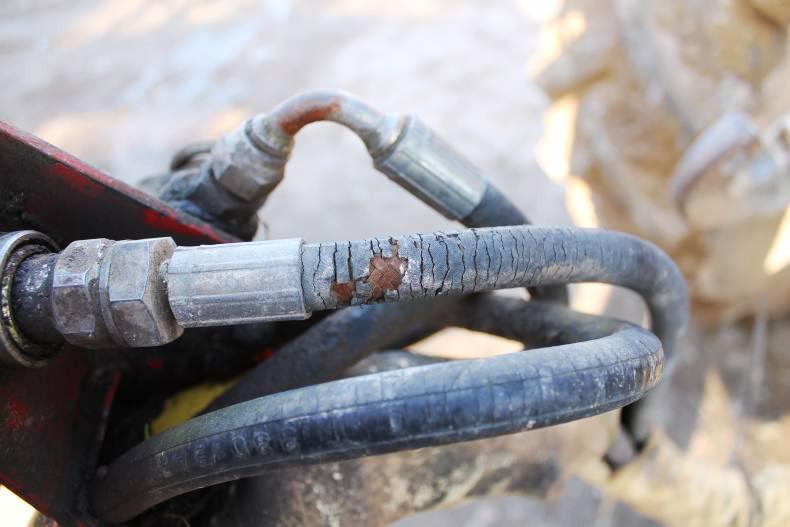
Damage or perished hydraulic piping needs to be replaced before using the tanker. This is especially relevant for the hydraulic brake pipe. Ensure the quick coupling ends are OK and function correctly. Worn couplers from being dragged along the road will not function correctly.
Picture four (right)
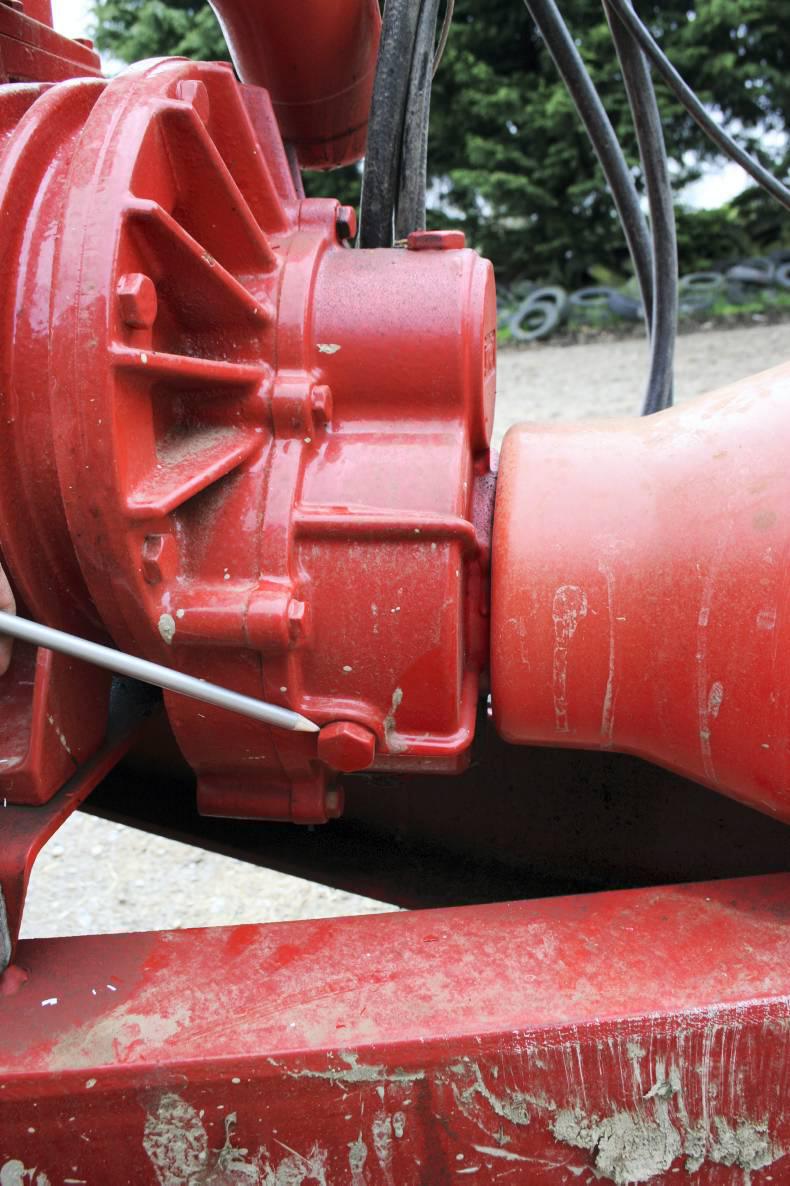
Moving closer to the tank is the heart of the vacuum tanker, the vacuum pump. Most have a gearbox at the front and an oil tank at the rear to supply and lubricate the pump. At the PTO end, check there is no leak at the input shaft and no play in the shaft itself.
Check the gear oil level in the front gearbox and if it is milky or dirty looking, change it. It most likely will be a standard gear oil, but check with the operator’s manual to be sure.
Picture five (below)
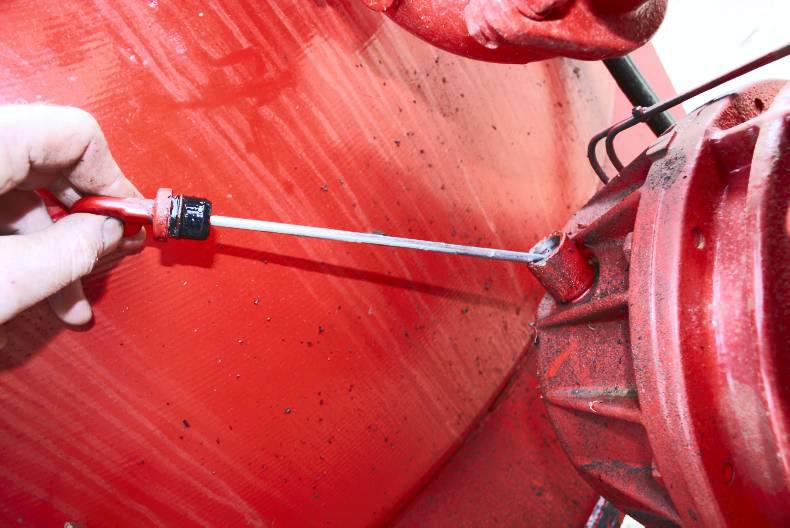
At the rear of the pump is the reservoir for the pump’s lube oil, usually quite a light oil or milking machine oil. Again check the manual to be sure. Most manufacturers place a sticker indicating the rate and oil type close to the pump.
Picture six
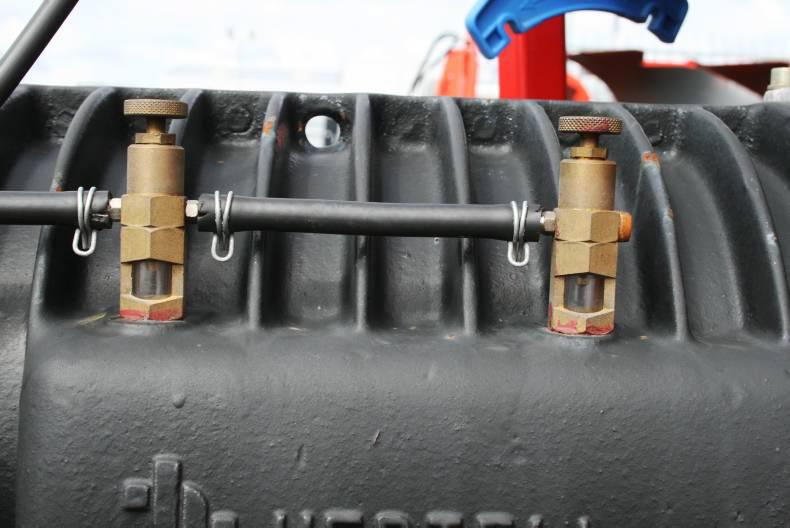
The rate of administering pump lube oil can vary, but it’s usually one to three drops per second depending on manufacturer. The rate of drop can be seen through the sight glass in the oiler and adjusted if required at the top of the oiler, all crucial to the service life of the pump (a new pump is in the region of €1,500 upwards depending on its size).
Picture seven
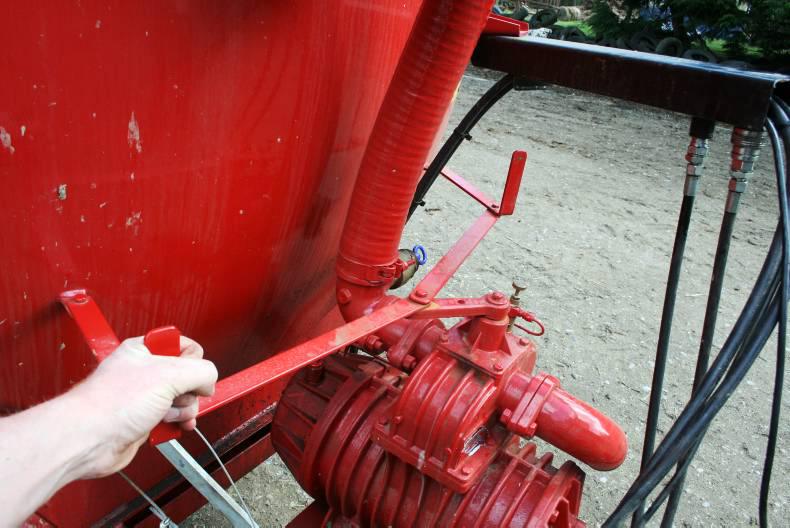
Many standard-spec machines have the pump controls located to either side of the tanker away from the PTO shaft and rear of the tractor. Higher-specification machines may have hydraulic controls. Check all for wear/seizure in linkages and the hydraulic ram is not leaking on the high-spec versions.
Picture eight
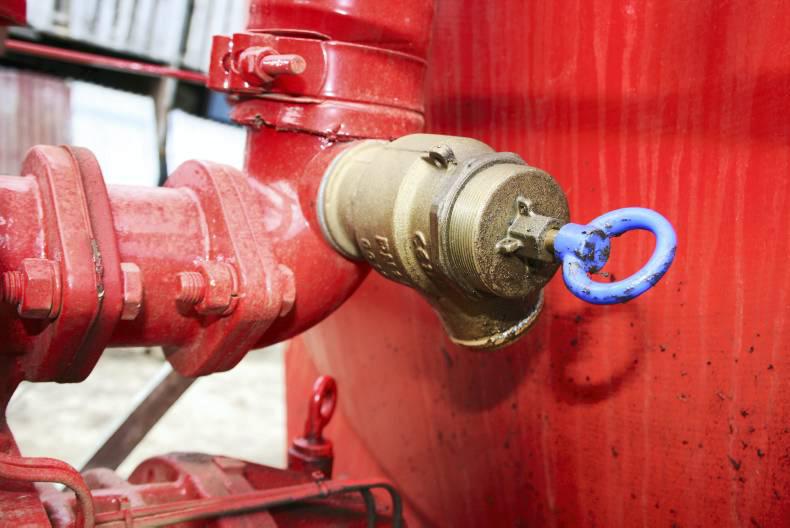
The tank’s over-pressure relief valve, brass-coloured with blue pull-ring, is set at a pressure of 0.5 bar. It may also not react well to outside wintering, so check its function and that it is not sticking. This sets the maximum operating pressure of the tank and when 0.5 bar is reached it makes a racket and you will feel the air coming out of it. This pressure should also register on the pressure gauge.
Picture nine
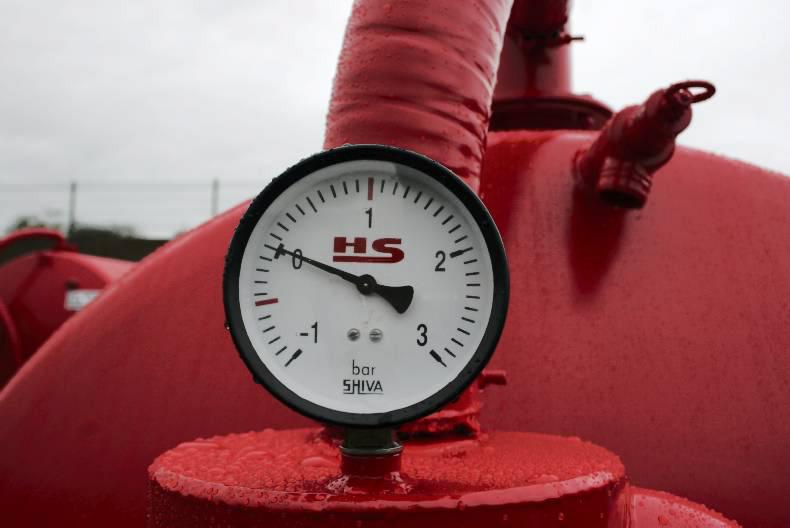
The pressure/vacuum gauge gives the operator a visible indication of what is going on with the tank, whether it is under pressure or vacuum. If it is not showing any pressure when running, with the tanker empty, just open the rear gate valve and there should be a whoosh of air if the pump is working OK. Replace pressure gauge.
Picture 10

Protecting the vacuum pump from sucking slurry into itself are the primary and secondary shut-off valves. These are simple ball devices which act as one-way valves. They allow air to pass unrestricted but when the tanker is full to its limit the balls float up on the slurry and blocks the vacuum/pressure line to the pump.
If the slurry gets past the primary shut-off valve located at the top of the tanker, then the secondary shut-off located in a cylindrical unit at the front of the tank comes into play. An inspection glass allows the operator to see if slurry has travelled too far and shut off the pump. If these become cloudy from age/sunlight damage, they are not very expensive to replace.
Picture 11
At the dirty end of the tanker, the only real problems you will get are leaky manual or hydraulic gate valves. Most tankers will have at least two rear outlets and the brass gate valves are pretty robust. If a gate valve is not closing properly, a common problem is a small stone or debris stuck in the valve’s groove. This is remedied by cleaning out with a suitable tool or power washer (not a finger – particularly on the hydraulically shut-off unit). Failing that, the gate valve needs replacing.
Picture 12
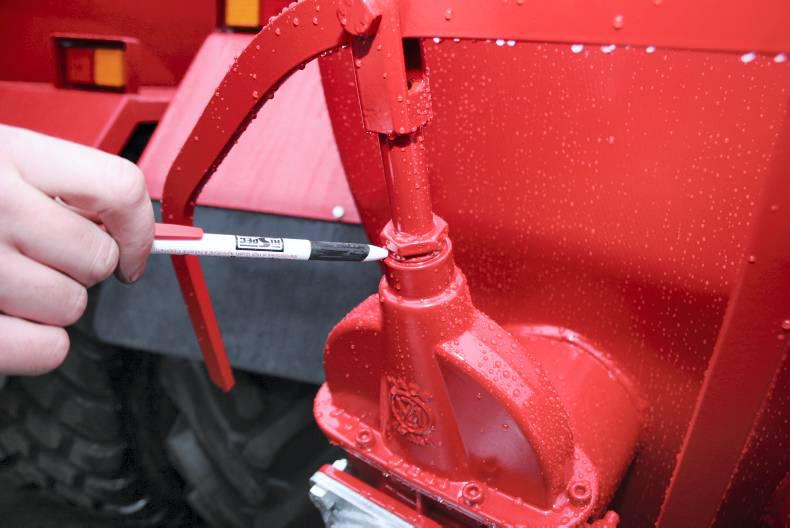
If there is any slurry leaking around the stem of the gate valve, either the manual or hydraulically operated units, then tightening the collar nut indicated should remedy this.
Picture 13
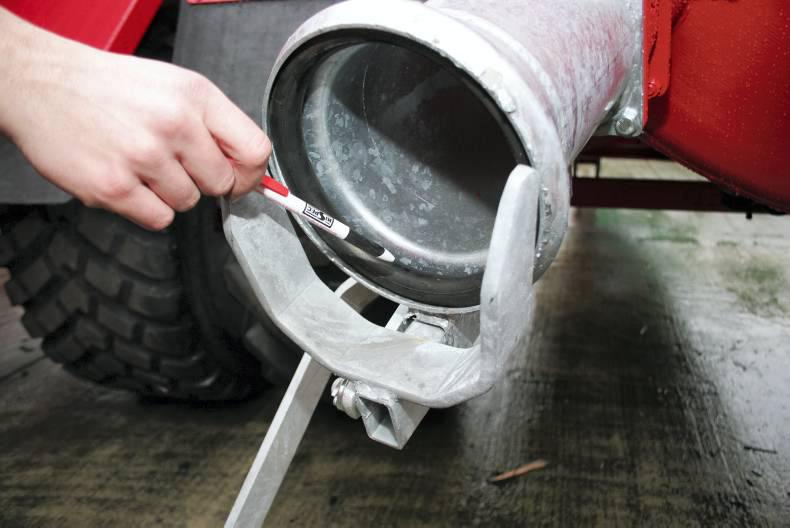
On the rear outlet/inlets connection there is a thick rubber seal to seal the suction pipe/spreader unit to the tanker. Inspect this for damage or perishing – it is very simple to replace. Check the rear portal clamps to make sure they are tight to prevent any leakage in or out with pipe/spreader unit attached.
Picture 14

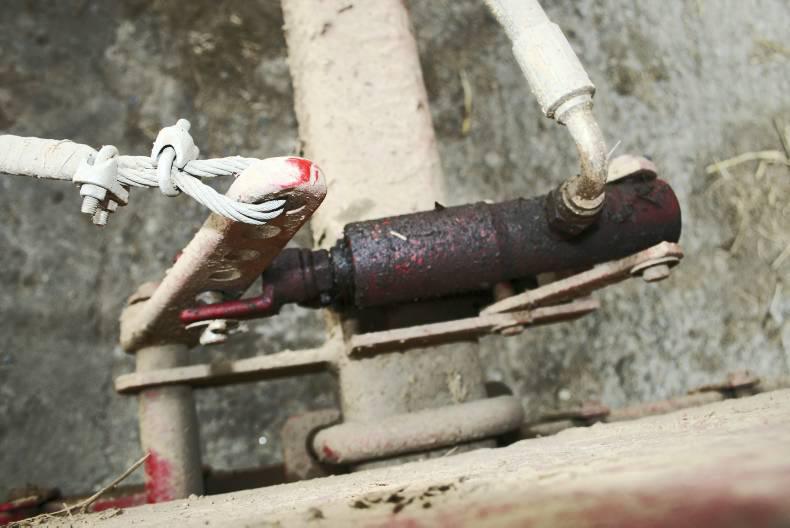
Brakes are critically important on slurry tankers as the unit begins to empty. The liquid load is very hard to control if braking is required, often pushing the tractor on again after it has stopped. So it is essential that they work on both wheels and don’t grab or stick. If possible, check and adjust in accordance with the manufacturer’s specifications (operator’s book). It is essential that issues such as this leaking brake ram are fixed before using the tanker.
Picture 15
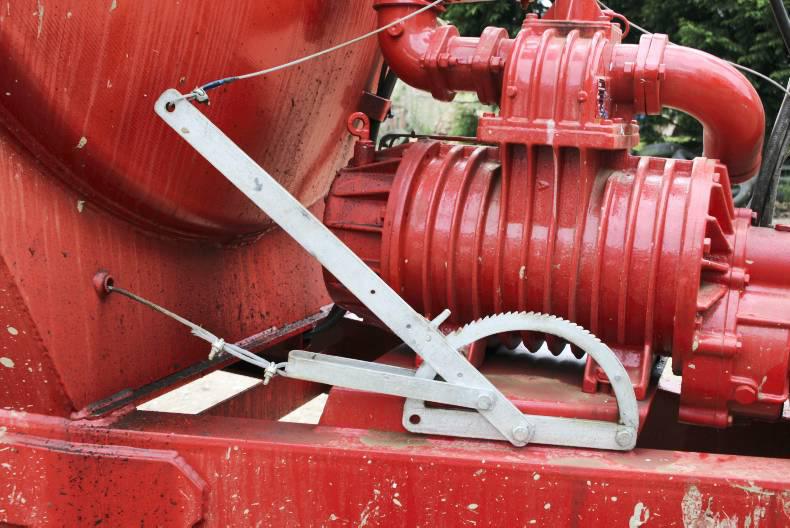
The handbrake pictured is also important, especially during filling on hilly ground where the operator is working around the tank, connecting and dis-connecting the filling pipe or operating the pump. Check its cable condition and that it can be operated and released without a problem. Some manufacturers have a breakaway cable linked to it if the tanker should become detached from the tractor.
Picture 16
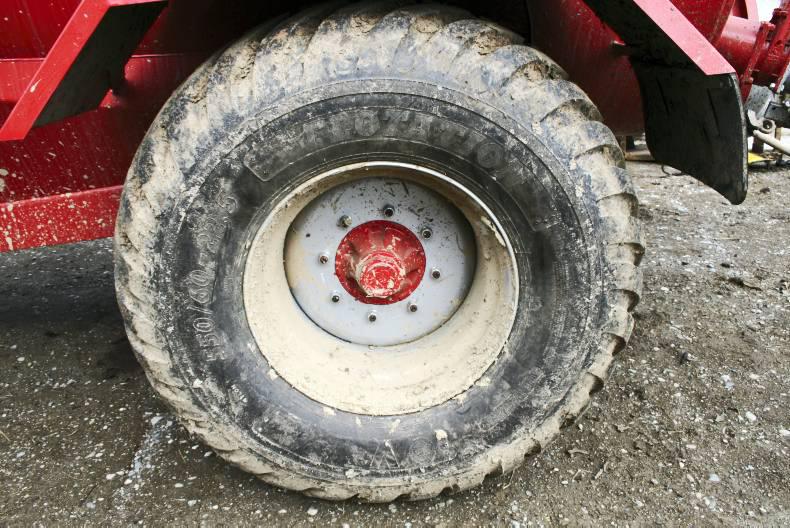
Check the condition of the wheels and tyres, and that the actual tyres pressures are correct. A damaged tyre with perishing or slits could cause an accident from a blow-out. Check wheel nuts regularly, especially if a wheel has been off for a puncture repair. If they loosen, then they will damage the hub and wheel rim, and will be impossible to keep tight.
Picture 17
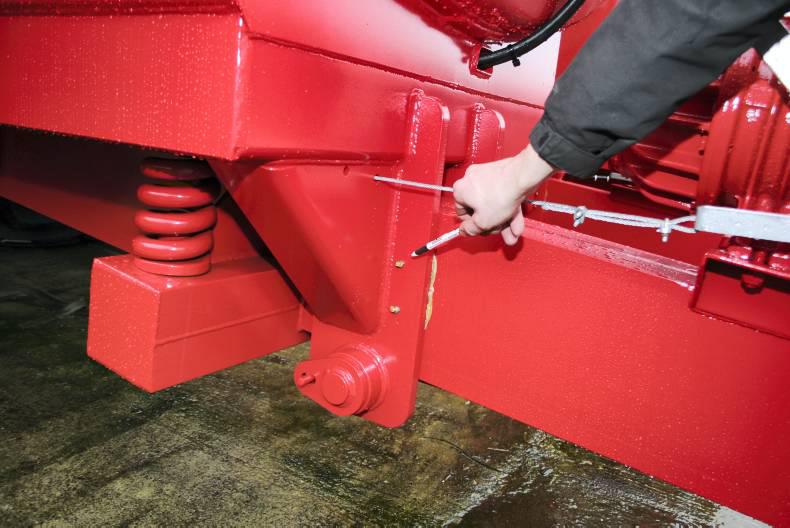
On tankers with a sprung drawbar, its guide slides need regular greasing, as does the drawbar pivot and pivoting towing eye.


SHARING OPTIONS