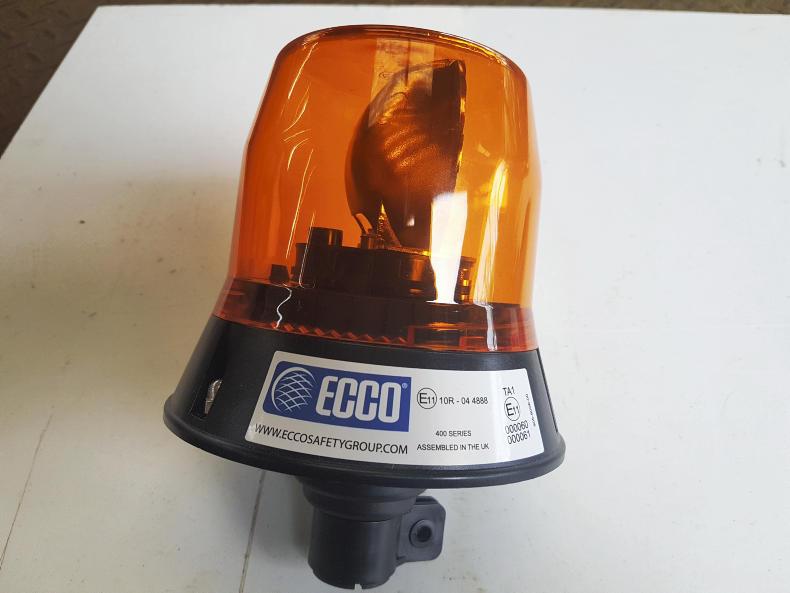
It is now a legal requirement to have a flashing beacon working on your tractor at all times on the road. This beacon must be at least 1.5m off the ground. The beacon must be amber or orange in colour, like the one shown in Picture 1. Rotating bulbs, pulsing LEDS or moving light bars are all acceptable forms of warning beacon. Most tractors produced in the last 10 years will have been delivered with either a factory fitted beacon or at least factory wired and a plug ready for connection.
What to do if your tractor is older or was not fitted with or wired for a beacon
Picture 1
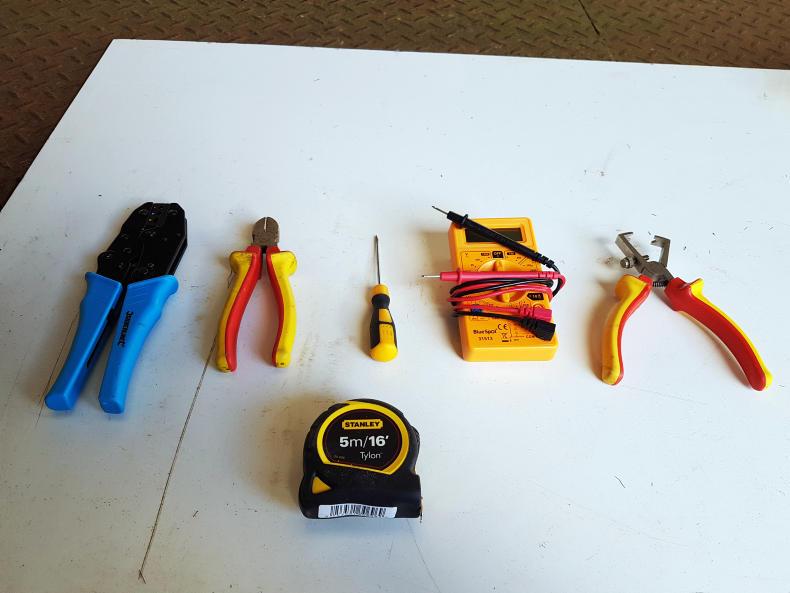
You will need a small toolbox of electrical tools to fit a beacon on any tractor. The basic tools required are a small screwdriver or phase tester, wire snips, wire stripper, crimping tool, simple multi-meter and a measuring tape.
Picture 2
Mechanical beacons will have a much higher power requirement. The one pictured is a 55 watt beacon. Before any wire, fuses or switches are purchased, a small calculation needs to be done to decide on the sizes required. This calculation is very simple, it is the rated power of the load divided by the voltage of the power supply (battery). The answer from this calculation will give you the amps which will be drawn through the circuit to tell you what fittings to buy.
Example: 55-watt beacon on a standard 12v system.
55/12=4.58 amps
This number allows you buy the correct wire, switch and fuses to carry this load.
Picture 3
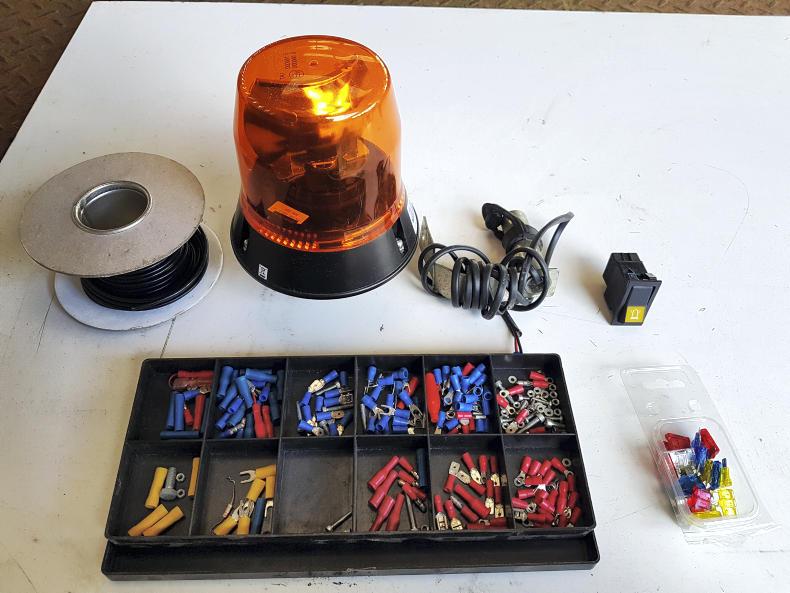
In this situation I would suggest that the wiring should be specified to carry approximately 15 amps. This allows for the possibility to add a second beacon and still have plenty of capacity left. The purpose of the fuses in a system is to protect the wire so I would suggest that a 5 amp fuse be used in this system.
Any switch that can carry the 10 amp load of two beacons will suffice.
Pictures 4 and 5
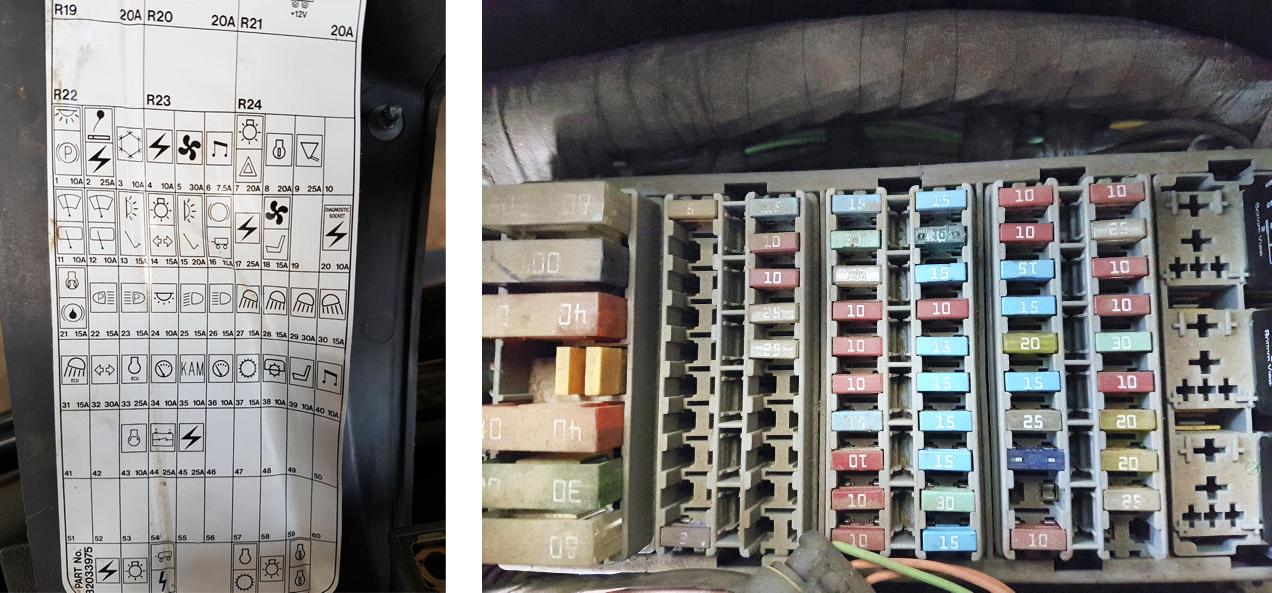
The first step in the process is to locate and open the fuse holder on your tractor and see if there is a spare fuse slot on it, which can be used to wire your beacon safely.
The temptation to wire the beacon into an existing circuit should be avoided as this may overload that circuit. This can occur because the original wires and fuse will have been specified to run the original load and not a beacon as well.
If there is a slot free for a fuse then power should be taken from another section of the fuse board and added to the empty slot. This fuse slot then needs to be wired to a switch. There may be a dummy switch on the dash of the tractor.
If not, a safe and handy place should be chosen to position the switch.
Picture 6
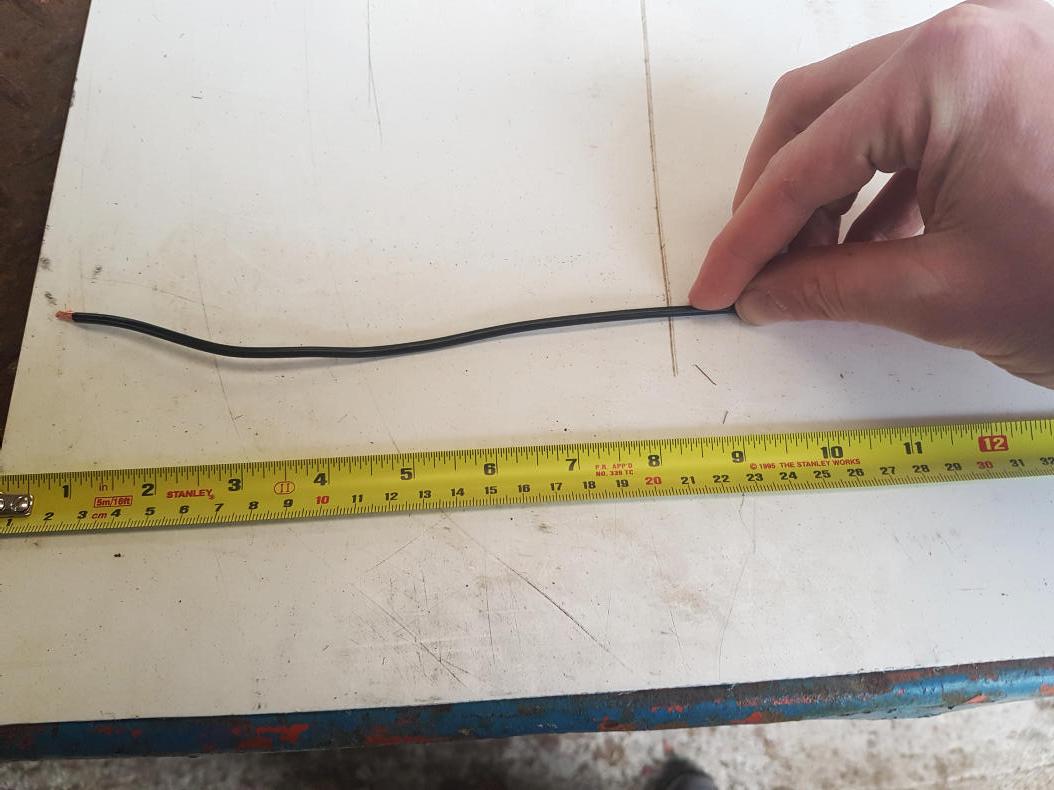
The wiring from the fuse board to the components should be the next step in the process. For this the wire lengths required need to be measured using the measuring tape and then each length of wire needs to have spade connectors (see below) attached in order to connect them to each component.
Picture 7
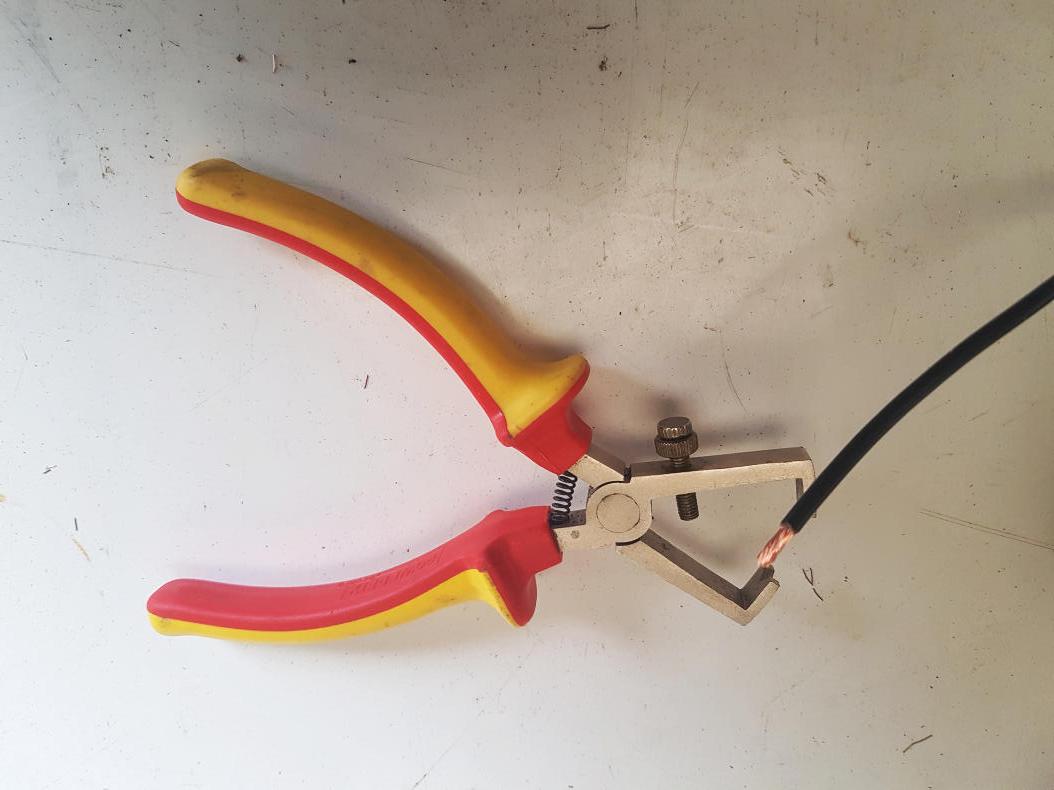
Stripping the ends of the wires is easily done with a correctly set wire strippers but can also be easily but carefully done with a penknife or Stanley blade. Making sure to strip the correct amount of wire to fit the spade connectors being used.
Picture 8
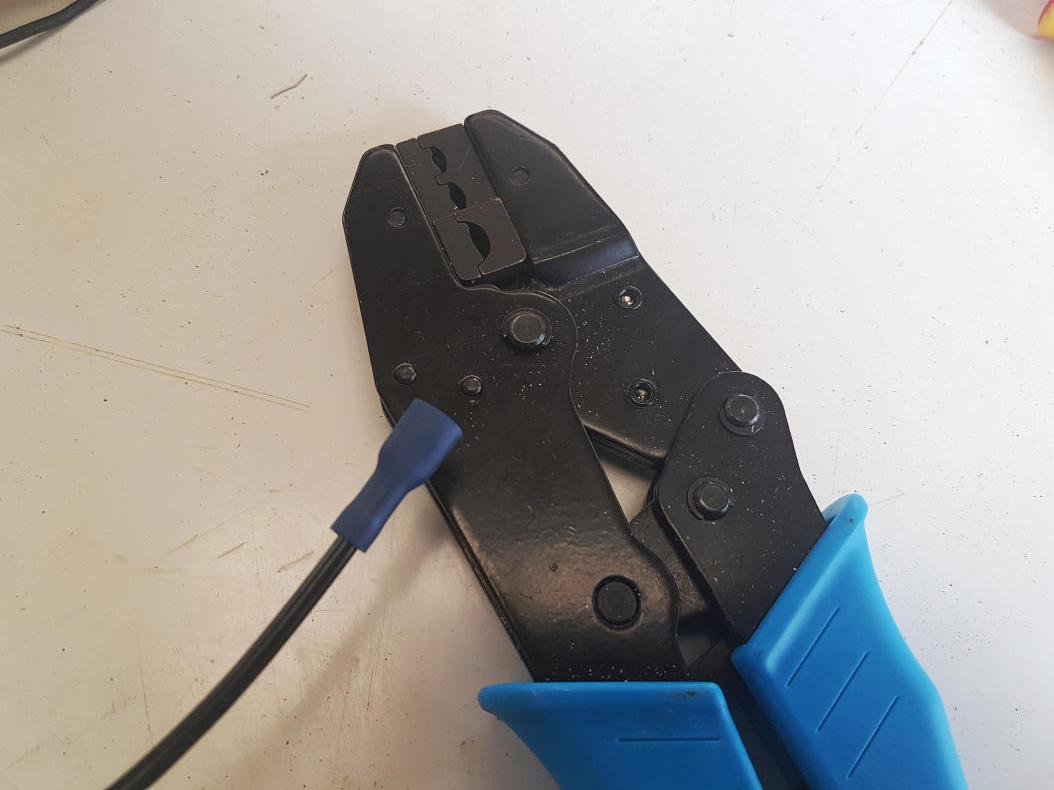
Attachment of the connectors should only be done using a crimping tool as it guarantees a good connection, ensuring that all stripped wire is fully covered by the insulation before crimping which is essential to reducing the risk of a short circuit. Using fully insulated spade connectors is advised.
Picture 9
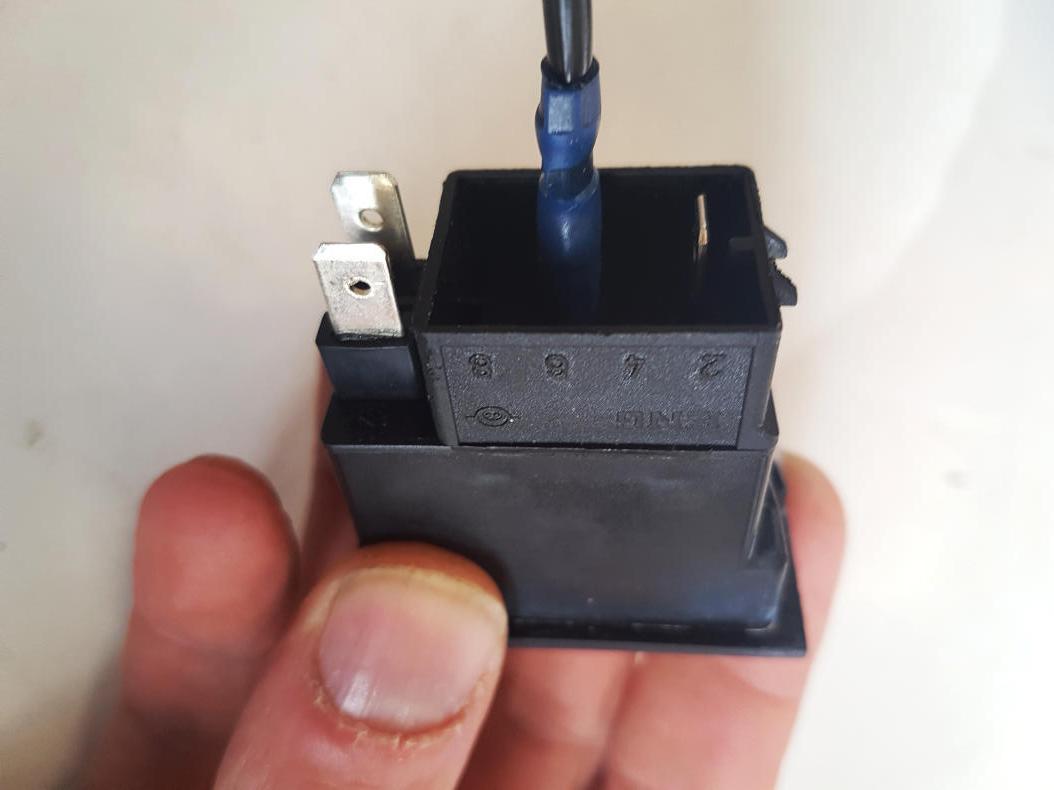
When the spade connectors are being pushed on to the components, they should require a decent amount of force. If they slide on too easily, a small squeeze with the crimping tool may be required to get a good long-lasting connection.
As the circuit form the fuse board through to the switch and on to the beacon is being assembled, the circuit should be tested by using the multi-meter to check either the continuity of the circuit or that the voltage is flowing through it when the fuse is in place and the switch is turned on.
Routing the wire from the fuse box to the switch and on to the beacon should be done very carefully and tidily as vibration and rubbing can be very detrimental to wiring.
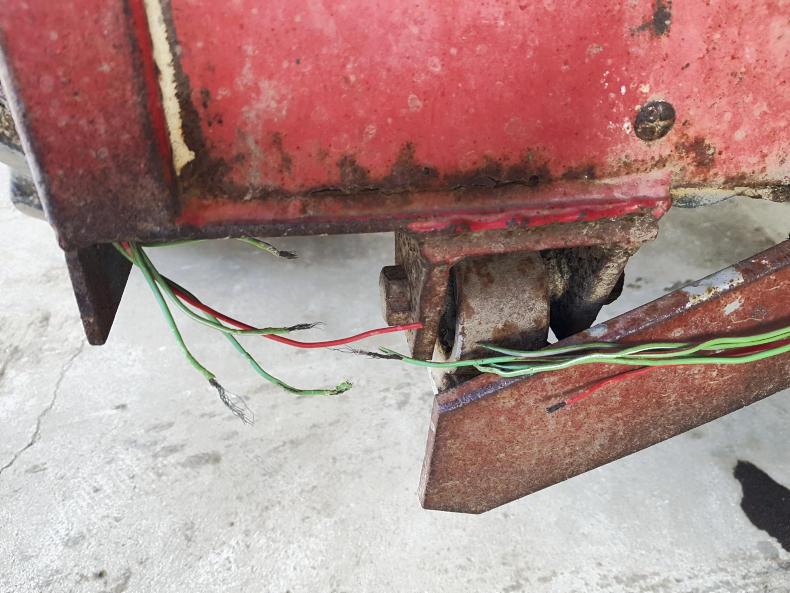
Picture 10
When routing the wire it should not be placed anywhere where there is a risk of wires being frayed or broken, as shown. It should also be routed away from any heat source as this can make the insulation on the wire brittle in time, leading to breakages.
Read more
Machinery news: a tale of two farming systems at SIMA 2017
It is now a legal requirement to have a flashing beacon working on your tractor at all times on the road. This beacon must be at least 1.5m off the ground. The beacon must be amber or orange in colour, like the one shown in Picture 1. Rotating bulbs, pulsing LEDS or moving light bars are all acceptable forms of warning beacon. Most tractors produced in the last 10 years will have been delivered with either a factory fitted beacon or at least factory wired and a plug ready for connection.
What to do if your tractor is older or was not fitted with or wired for a beacon

Picture 1
You will need a small toolbox of electrical tools to fit a beacon on any tractor. The basic tools required are a small screwdriver or phase tester, wire snips, wire stripper, crimping tool, simple multi-meter and a measuring tape.

Picture 2
Mechanical beacons will have a much higher power requirement. The one pictured is a 55 watt beacon. Before any wire, fuses or switches are purchased, a small calculation needs to be done to decide on the sizes required. This calculation is very simple, it is the rated power of the load divided by the voltage of the power supply (battery). The answer from this calculation will give you the amps which will be drawn through the circuit to tell you what fittings to buy.
Example: 55-watt beacon on a standard 12v system.
55/12=4.58 amps
This number allows you buy the correct wire, switch and fuses to carry this load.

Picture 3
In this situation I would suggest that the wiring should be specified to carry approximately 15 amps. This allows for the possibility to add a second beacon and still have plenty of capacity left. The purpose of the fuses in a system is to protect the wire so I would suggest that a 5 amp fuse be used in this system.
Any switch that can carry the 10 amp load of two beacons will suffice.

Pictures 4 and 5
The first step in the process is to locate and open the fuse holder on your tractor and see if there is a spare fuse slot on it, which can be used to wire your beacon safely.
The temptation to wire the beacon into an existing circuit should be avoided as this may overload that circuit. This can occur because the original wires and fuse will have been specified to run the original load and not a beacon as well.
If there is a slot free for a fuse then power should be taken from another section of the fuse board and added to the empty slot. This fuse slot then needs to be wired to a switch. There may be a dummy switch on the dash of the tractor.
If not, a safe and handy place should be chosen to position the switch.

Picture 6
The wiring from the fuse board to the components should be the next step in the process. For this the wire lengths required need to be measured using the measuring tape and then each length of wire needs to have spade connectors (see below) attached in order to connect them to each component.

Picture 7
Stripping the ends of the wires is easily done with a correctly set wire strippers but can also be easily but carefully done with a penknife or Stanley blade. Making sure to strip the correct amount of wire to fit the spade connectors being used.

Picture 8
Attachment of the connectors should only be done using a crimping tool as it guarantees a good connection, ensuring that all stripped wire is fully covered by the insulation before crimping which is essential to reducing the risk of a short circuit. Using fully insulated spade connectors is advised.

Picture 9
When the spade connectors are being pushed on to the components, they should require a decent amount of force. If they slide on too easily, a small squeeze with the crimping tool may be required to get a good long-lasting connection.
As the circuit form the fuse board through to the switch and on to the beacon is being assembled, the circuit should be tested by using the multi-meter to check either the continuity of the circuit or that the voltage is flowing through it when the fuse is in place and the switch is turned on.
Routing the wire from the fuse box to the switch and on to the beacon should be done very carefully and tidily as vibration and rubbing can be very detrimental to wiring.

Picture 10
When routing the wire it should not be placed anywhere where there is a risk of wires being frayed or broken, as shown. It should also be routed away from any heat source as this can make the insulation on the wire brittle in time, leading to breakages.
Read more
Machinery news: a tale of two farming systems at SIMA 2017






SHARING OPTIONS