LOYALTY CODE:
The paper code cannot be redeemed when browsing in private/incognito mode. Please go to a normal browser window and enter the code there

LOYALTY CODE:
The paper code cannot be redeemed when browsing in private/incognito mode. Please go to a normal browser window and enter the code there
This content is copyright protected!
However, if you would like to share the information in this article, you may use the headline, summary and link below:
Title: Build new silage pits to a high standard
Few other concrete structures must cope with as corrosive an environmenta as your silage pit. To give it the best chance of a long working life it must be built right.
https://www.farmersjournal.ie/build-new-silage-pits-to-a-high-standard-179294

ENTER YOUR LOYALTY CODE:
The reader loyalty code gives you full access to the site from when you enter it until the following Wednesday at 9pm. Find your unique code on the back page of Irish Country Living every week.

CODE ACCEPTED

You have full access to farmersjournal.ie on this browser until 9pm next Wednesday. Thank you for buying the paper and using the code.

CODE NOT VALID
Please try again or contact us.
For assistance, call 01 4199525
or email subs@farmersjournal.ie
Sign in

Incorrect details
Please try again or reset password
If would like to speak to a member of
our team, please call us on 01-4199525
Reset
password
Please enter your email address and we
will send you a link to reset your password

If would like to speak to a member of
our team, please call us on 01-4199525
Link sent to
your email
address
![]()
We have sent an email to your address.
Please click on the link in this email to reset
your password. If you can't find it in your inbox,
please check your spam folder. If you can't
find the email, please call us on 01-4199525.
![]()
Email address
not recognised
There is no subscription associated with this email
address. To read our subscriber-only content.
please subscribe or use the reader loyalty code.
If would like to speak to a member of
our team, please call us on 01-4199525
 This is a subscriber-only article
Update Success !


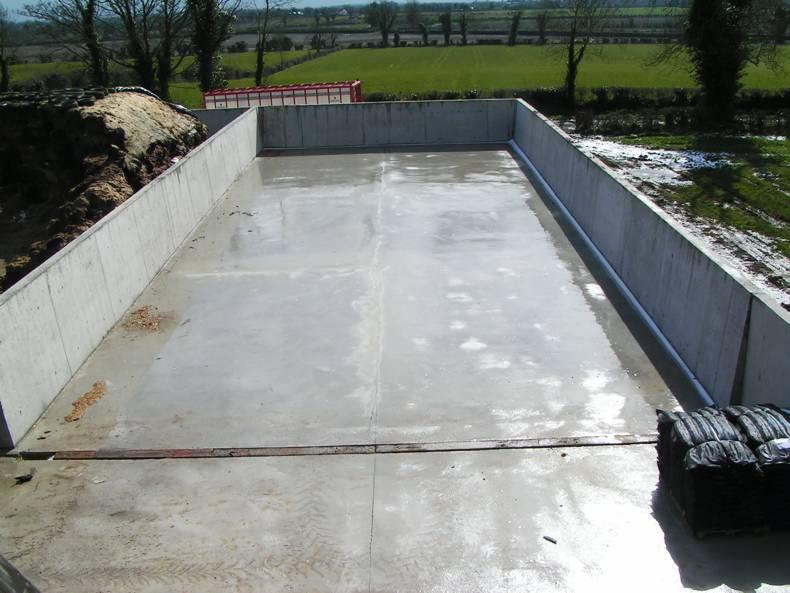
Over the coming weeks, farmers and building contractors will be constructing new silage pits. Silage slabs and walls must be built to a high standard.
Laying concrete is regarded as simple, yet all too often defects from poor workmanship can be seen.
You should carefully study and follow the Department of Agriculture specifications S128, S120 and S100. The main elements are:
I would like to see silage bases and silage pit walls with a lifespan of up to 50 years.
Over this lifespan, they should perform their function well from the point of view of staying leak-proof and collecting and conveying silage effluent to storage.
Silage pit walls have to support heavy loads, so preventing corrosion of the reinforcing steel in the wall, especially at the base of the wall, is essential.
Corroded steel at the base of the wall, if left unattended, will ultimately mean the wall will have to be replaced. There is also the possibility that the wall could fail under load. This is a safety risk too great to take.
Some farmers are now looking at their existing slab and must decide whether it is worth repairing or needs to be replaced.
To do remedial works, the pit must be structurally sound. If it is not structurally sound then really the only option is to take up the slab and the hardcore underneath and start again.
The best option may be to move to a new site altogether to make room for other developments or just to create space in the yard.
The old slab may be suitable as a concrete yard or for storing baled silage. Similarly, silage walls need to be assessed for structural damage before deciding on what to do. Typically, walls would be in a better condition than floors.
SHARING OPTIONS: